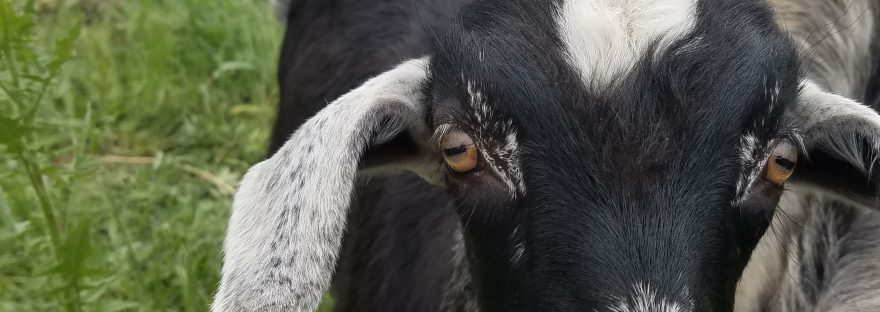
Despite all of the advice not to get them. Despite all the hard work it took to get ready for them. Despite some second thoughts, we have brought some additions to the farm. Last Thursday, we welcomed Morgana, Cookie, and her two kids. The fun won’t stop there as Morgana is expecting and will be kidding at any time.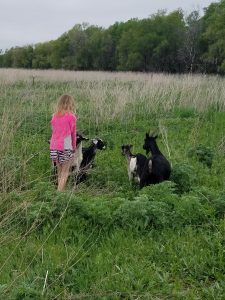
After just a day of being a little scared of us, they now come over to the gate anytime they see us coming out to see them. It didn’t hurt to have handfuls of treats will us each time we went to the goat pen. The girls can’t get enough of them and as long as they have treats the goats can’t get enough of them. McKinely is even excited to feed the new “puppies”.
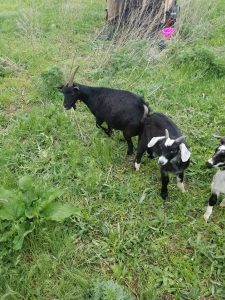 Morgana is a Nigerian Dwarf and she is very pregnant. We are expecting her to kid in a few weeks. The girls are very excited for new kids. After visiting the goats one day, they disappeared. Turns out they went in the house and were watching Youtube videos about “know when your goat is kidding”. What would we do without the internet? Morgana is also very much the herd queen. She is the boss and isn’t shy about getting things her way.
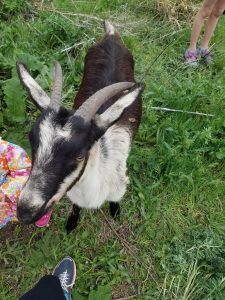 Cookie is a cross between Alpine and Nubian. She has two kids at her side, one doeling, and one buckling. We have since named them Muffin and Thor respectively. Cookie is a sweet goat and was the first one to become comfortable with us. Thor is still a little unsure about us but will eat out of our hands. Muffin still likes to keep her distance, but she is slowing becoming more comfortable.
My ultimate goal is to start milking the does. We are excited about the milk, the cheese, and soap that will we get to try from our goats. I am sure this will be an experience and I will share all of the ups and downs with you here.
We are less than a week in but it already been a lot of fun. I am sure there will be lots of work and some ups and downs, but for now, we are just enjoying the new experience. I am so glad we took the plunge. Here is to that continuing.
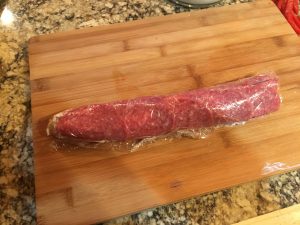
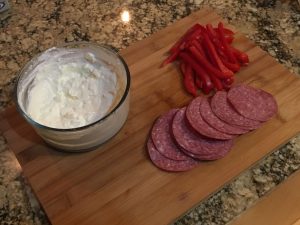 This is a pretty simple recipe with only 4 ingredients and only one technique that is a little different. You will need cream cheese, sour cream, salami slices and a bell pepper (color of your choice). Also get out some plastic wrap and have a cutting board handy. There is actually one more ingredient, that is time. We will need to leave these in the frig for a few hours. I usually make these the night before and let them set overnight.
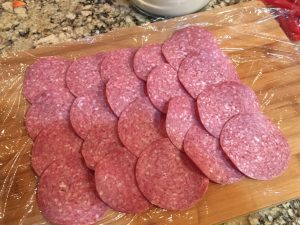 Lay the plastic wrap out. Arrange the salami slices out on the plastic wrap. They should be slightly overlapping. Now carefully spread the cream cheese mixture evenly on the salami. Place the pepper strips down the middle of the salami.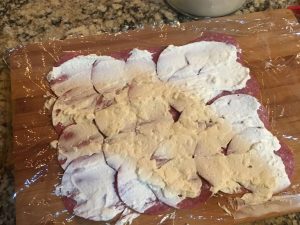

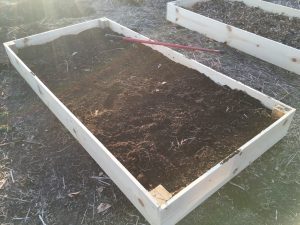
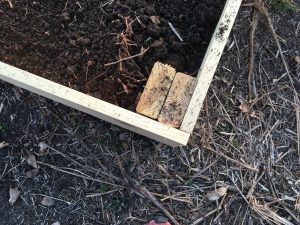 The beds are made of 1×10 pine boards with doubled up 2x4s in the corners. The beds measure 4’x8′. You don’t want to go any larger than 4ft. This will allow us to reach across the beds and get to the middle from either side. This method gets the beds up quickly.
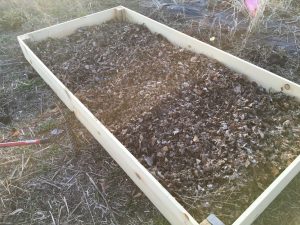 bottom of the beds. That is topped with a mix of our existing soil with a little peat moss to loosen the soil and some compost. If you don’t have your own compost check with your local dump. If they take leaves and grass clippings they will likely have a compost pile. The local dump here the compost is free to take as long as you load it yourself. Since it is composted I would not be concerned with any chemicals that people use on their lawn, but if you are it probably isn’t the best source for you.